Bring your whole team onto Marrow. The gym console is where you invite trainers, watch the floor, and keep your members when a coach moves on.
Apply as a gym
Go to marrowfitness.com/gyms and apply. We ask for the gym name, your name, and a short note about your team. A gym account is built for studios and gyms running more than one coach or instructor.
Connect Stripe
Like every account on Marrow, your gym connects Stripe so payments land in your bank. The setup takes about five minutes. See the Stripe Connect article for the walkthrough.
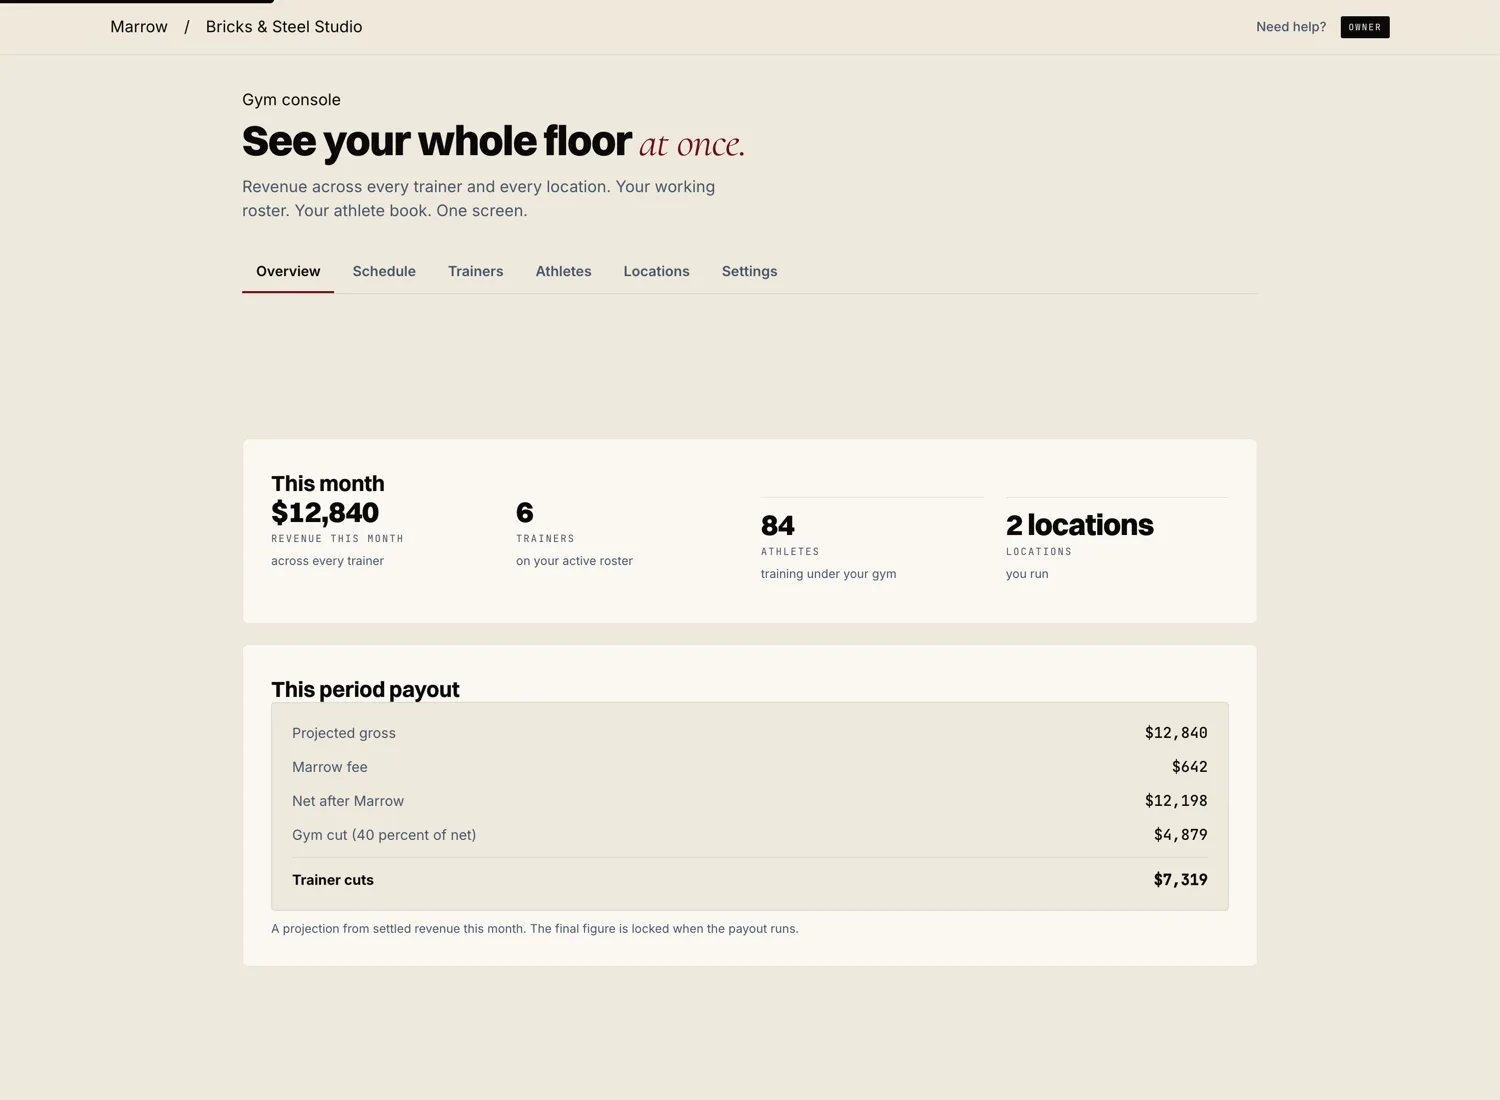
Open the gym console
The gym console is your home base. It is where you see every trainer, every member, and the health of the floor at a glance. Invite trainers, watch retention, and step in where a member needs attention.
Invite your trainers
From the console, send each trainer an invite. They get a magic link, finish a short setup, and connect their own payout details. Once they are in, their athletes and your gym are linked.